
This article describes the offline editing of DOORS modules using requisis_MoRE
Introduction
With requisis_MoRE for DOORS offline work with DOORS is possible. The generated HTML files are readable with a browser and can be displayed on any PC without any problems. With requisis_MoRE it is possible to navigate between linked requests. To do so, simply click on the link next to the requirement and you will be taken to the position in the HTML document where the linked requirement is located. It is also possible to edit certain columns. In this case, the data is displayed in input fields and can be edited there. They are saved in a TSV file and can be imported again later.
Export Interface
If you have received your requisis_MoRE export as a zip file, you will need to unzip it before you can start editing offline.
In the export directory you will find the following files and folders:
- Subfolder /documentation with the complete documentation
- Subfolder /export contains the HTML file(s) with the title of the module (including project name and name of the
folder paths) and a subfolder with the name of the module, which contains a *.tsv file. In this file are
stores the contents of the DOORS module (tsv: tab separated values). Also, the /lib folder with files for the
functionality of requisis_MoRE and for the layout. - The subfolder /MoRE_Server contains the files for the server operation which are necessary to run the exports locally.
edit. The file config.js contains the variable port with which you adjust the port used by the server
can. The default port used is "52123". The file startRequisisMoreServer.cmd starts the local
More_Server. The file startRequisisMoreServer.jar contains the requisis_MoRE_Server. - The log file MoRE_Export_Log.log, which incrementally records the log entries for each MoRE export.
- The cmd file startWithServer.cmd which starts the More Server on your local Windows computer.
- The Sh file startWithServerLinux.sh which starts the More Server on your local Linux computer.
Starting the MoRE_Server
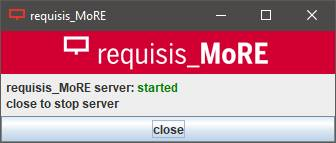
Before you can edit the exported modules locally in the HTML interface, you have to start the MoRE_Server. To do so, double-click the file startWithServer.cmd if you are using Windows or startWithServerLinux.sh if you are using Linux in the folder of your requisis_MoRE export. The following window will open and you can open the desired HTML file and edit the editable fields.
Important information:
Please note that requisis_MoRE is designed to allow editing DOORS modules without a DOORS client but is not a full replacement of a DOORS client. Working on the same module in parallel is not a use case supported by requisis_MoRE. Each user’s changes would overwrite the changes done previously by other users. If you want to work on a module in a team, either use a DOORS client or use requisis_MoRE, but work on the module sequentially (i.e., only one user at a time).
Open the HTML file
Loading the HTML file can take several minutes for larger exports.
If you have exported or received several modules at the same time, you can also open the file index.html in the subfolder /export to get an overview of the complete export.
Navigation
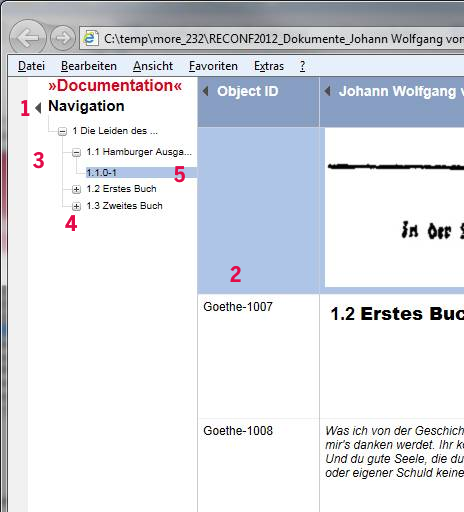
- The navigation bar can be shown or hidden by clicking on the triangle.
- The navigation in HTML is similar to Doors.
- On the left side you have a navigation bar that allows you to jump directly to a requirement.
- You can expand and collapse nodes in the tree by clicking on + and -.
- The selected object is highlighted in the navigation bar and in the main window.
Navigate between requirements
DOORS links, which allow to navigate between objects in DOORS, are also exported depending on the settings. The links are displayed in the "Links" column to the right of the main column. By clicking on the corresponding link it is possible to jump to the position of the linked object (also to other HTML documents of the export). Next to the link arrows, the module name and in square brackets the object ID without prefix is displayed.
Outgoing link to the module
"Example module 2" on ObjectID 1
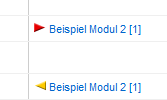
Incoming link from module
"Example module 2" of ObjectID 1
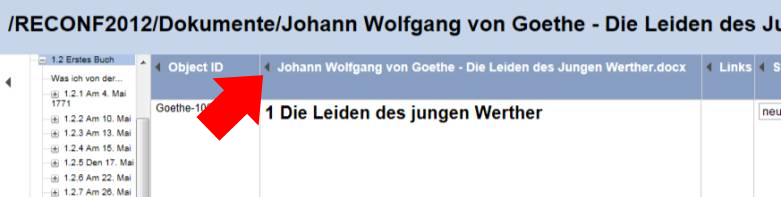
Column headers
The headings of the columns are always visible at the top. By clicking on the triangle in the headline, columns can be shown or hidden. By clicking on the right side line of a heading and then dragging it, the size of the column can be adjusted.
Edit in the Edit column
If the export contains editable columns, a TSV file is automatically created, which contains the contents of the editable columns. The data is automatically loaded when the HTML file is opened, provided that all warning messages have been confirmed accordingly. The contents are displayed in the HTML text fields and can be edited there.
The use of text formatting and DOORS special characters is not possible in these fields!
After editing, click Save and wait for confirmation that the data has been saved. Here all requisis_MoRE options are explained in HTML:
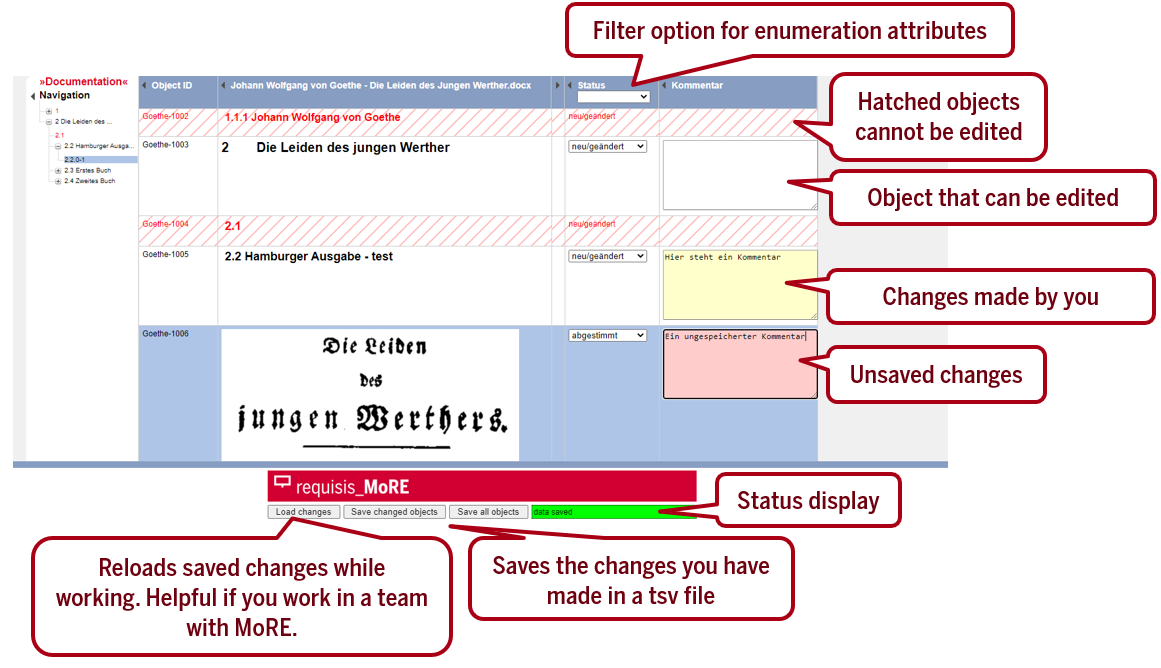
- Load changes: Here the saved changes from the TSV file are reloaded.
- Save changed objects: Only the objects changed in requisis_MoRE are saved here. This saves time when loading the data. When reading back this file in DOORS, only objects changed in requisis_MoRE are updated. If you change a parent object in requisis_MoRE, but leave the child objects unchanged, it may happen during import into DOORS that the child objects are implicitly changed by inheritance.
- Save all objects: Here all edit fields are saved to the TSV file. (Later loading processes may take longer.) When reading back this file in DOORS, all objects are updated. This ensures that all attributes receive exactly the same value that is displayed in requisis_MoRE. Thus, inherited attribute values are overwritten by explicitly setting the values.
- Status:
Green: everything OK
Yellow: the displayed action is currently being performed
Red: an error has occurred.