
Step by step instructions on how to create a user account for our product support platform form
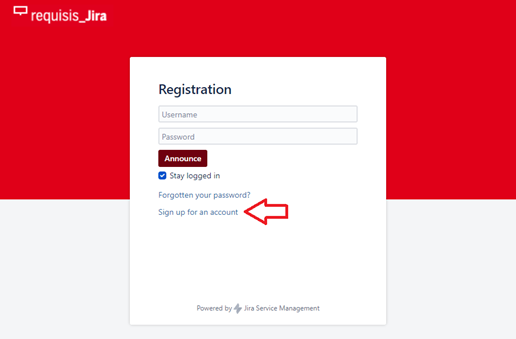
Step 1: Access the Support Portal
Open your web browser and enter the following URL: https://requisis.com/jira/servicedesk/customer/user/login?destination=portals The support portal page will load, and you'll see the login page.
press "Sign up for an account"
Step 2: Enter Personal Information
- On the registration page, you'll be prompted to enter your personal information (Email). Please use an email address of your organization and not a private email address.
- Make sure that your registered mail is correct, you will receive a confirmation link for authentication on this address.
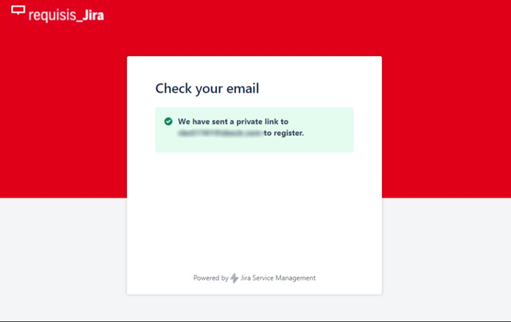
Step 3: Email Verification
- After completing the registration, you will receive a confirmation email at the email address you provided.
- Open your email and click on the verification link to confirm your email address.
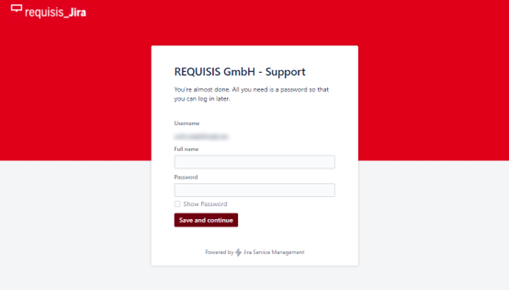
After following the link, all you need to do is enter your full name and set a password for your Jira account.
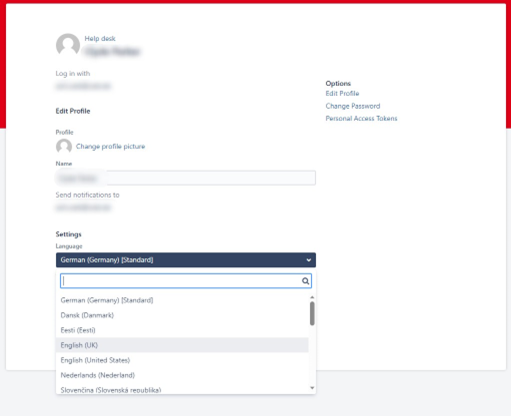
Step 4: Changing the Language Preference
- Once you have logged in to your Jira Help Desk account and accessed the portal, locate your profile icon at the top right corner of the page.
- Click on the profile icon, and from the dropdown menu, select "Profil" / "Profile" to navigate to your user profile settings.
- In your profile section, you'll find an "Optionen" / "Options" section. Click on "Profil bearbeiten" / "Edit your Profile" to access the profile editing options.
- Scroll down to the "Einstellungen" / "Preferences" section, where you can customize your account settings, including the language preference. Look for the "Sprache" / "Language" option and choose your preferred language from the available options in the dropdown menu.
- After selecting the desired language, make sure to save your changes by clicking on the "Speichern" / "Save" or "Update" button at the bottom of the page.
Step 5: Creating Support Tickets
- To create a support ticket, start by navigating back to the homepage of the support portal: https://requisis.com/jira/servicedesk/customer/portals
- On the homepage, you will find a search bar at the top. Under the search bar, you'll see two categories: "Requisis_Produkte" and "DOORS &DNG SaaS Support."
- Choose the category that best fits your support request by clicking on it. This will direct you to the respective support portal for that category.
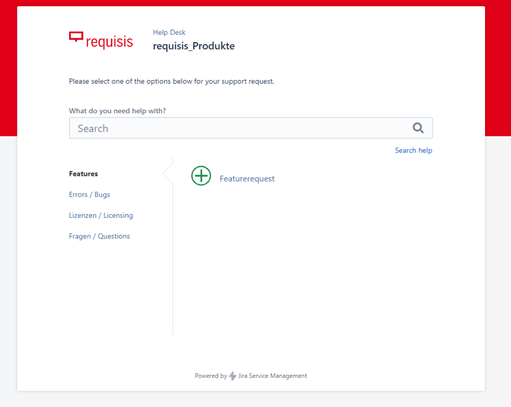
Step 6: Selecting the Category for Your Support Request
- After accessing the support portal homepage (https://requisis.com/jira/servicedesk/customer/portals), click on the category titled "Errors / Bugs." This category is specifically designed for reporting issues related to errors or unexpected behavior in the product.
- Upon clicking "Errors / Bugs," you will be directed to a dedicated page where you can report the error in detail.
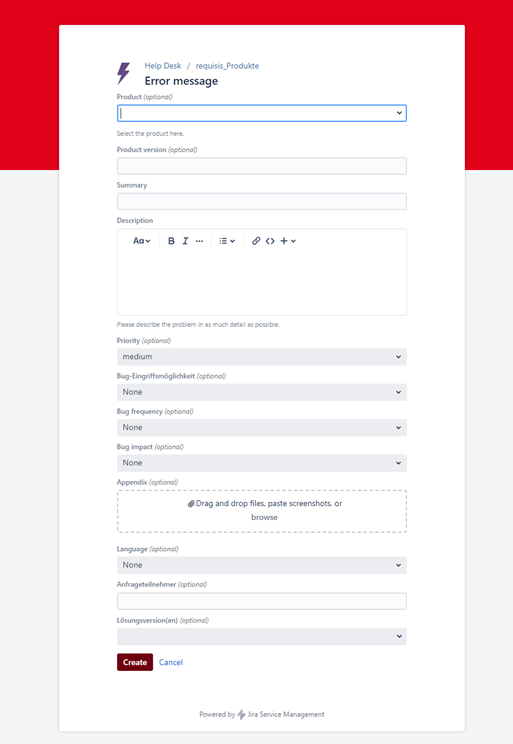
- On this page, you will find a form to describe the error message or bug you encountered.
- In the "Description" field, explain the error in detail. Include any error messages, the context in which the error occurred, and the steps you took leading up to the issue. The more information you provide, the better our support team can understand and address the problem.
- If applicable, you can also attach screenshots or images that demonstrate the error message or the steps leading to it. Simply click on the attachment icon and select the files you wish to include.
- Take your time to ensure that you have provided all the necessary information about the error.
- Once you are satisfied with the information provided, review your submission for accuracy.
- After ensuring everything is correct, click on the "Create" button to submit your detailed error report.
Congratulations! You have successfully reported the error or bug.
Our support team will now have access to the information you provided and will work diligently to resolve the issue.
You can monitor the progress of your report through the support portal and receive updates as our team investigates and addresses the error. If you have any additional questions or require further assistance, please don't hesitate to contact our support team.
We are here to assist you!